Evaluate and Clean the Wood Surface
Spot-test a hidden area with alcohol or mineral spirits. If the surface softens or turns tacky, an existing film finish may remain. Oiling works best on bare wood, so lightly strip or sand away remnants before proceeding, then confirm with a second test.
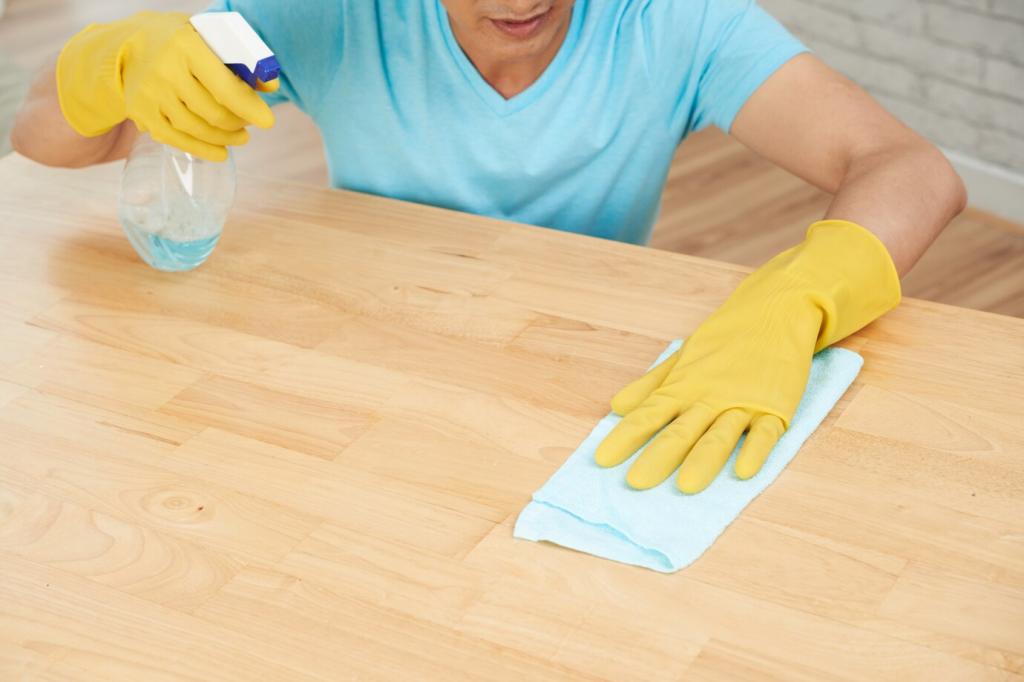
Evaluate and Clean the Wood Surface
Vacuum with a soft brush, then wipe with a lightly dampened cloth and mineral spirits to lift greasy residue. Avoid soaking or standing moisture, which swells fibers. Clean crevices and carvings with a toothbrush, and let the surface fully dry before sanding.