Selected theme: Waxing Wooden Furniture: Benefits and Techniques. Discover how wax can revive tired wood, protect daily-use pieces, and add a hand-rubbed glow that varnish often can’t match. Join our community of makers—ask questions, share your favorite waxes, and subscribe for weekly tips.
Choosing the Right Wax for Your Wood
Beeswax delivers a mellow, warm glow and a tactile, soft finish that suits antique or rustic pieces. Carnauba is harder, shinier, and longer-wearing, perfect for tabletops. Blends often combine both for balance. Share what you’ve tried and whether you prefer a buttery hand-feel or a gleaming, resilient sheen.
Choosing the Right Wax for Your Wood
Clear wax preserves the original tone, while color-tinted wax subtly deepens grain and can disguise small scratches. Dark wax adds depth to carvings and edges, creating rich highlights. Try tinted wax on oak or walnut to emphasize texture. Comment with before-and-after stories if tinting transformed your furniture.
Application Techniques that Deliver a Silky Finish
Load a lint-free cloth or wax brush sparingly. A whisper-thin coat avoids smearing and cures more predictably. Over-application traps solvent and clouds the finish. Two light passes outperform one heavy layer. If you’ve struggled with streaks, drop a comment describing your method and we’ll troubleshoot together.
Hand buffing with cotton cloths gives nuanced control and a classic satin look. Power buffers accelerate the process on large tables but demand a gentle touch. Always start slow and dry-run on scrap. Comment with your go-to method and we’ll help dial in speed, pads, and pressure.
Buffing and Sheen Control
For matte, stop after a light buff once the haze clears. For satin, make a second pass with clean cloths. For gloss, add a very thin second coat and buff longer. Keep movements broad to avoid hot spots. Which sheen suits your space? Vote in our weekly poll and compare results.
Protection and Everyday Care
Defending against Water Rings and Heat
Use coasters and placemats; wax resists moisture but isn’t heatproof. A quick re-buff often softens light rings. For stubborn marks, a micro-application of wax blended with a hairdryer’s low heat can help. Share your dining table war stories and solutions that saved the evening.
Rewaxing Schedule and Signs
Plan a light rewax every six to twelve months, depending on traffic. Dullness, dry feel, or uneven sheen are cues to refresh. You rarely need to strip; a thin maintenance coat restores luster. Tell us how your high-use pieces hold up and what cadence works in your household.
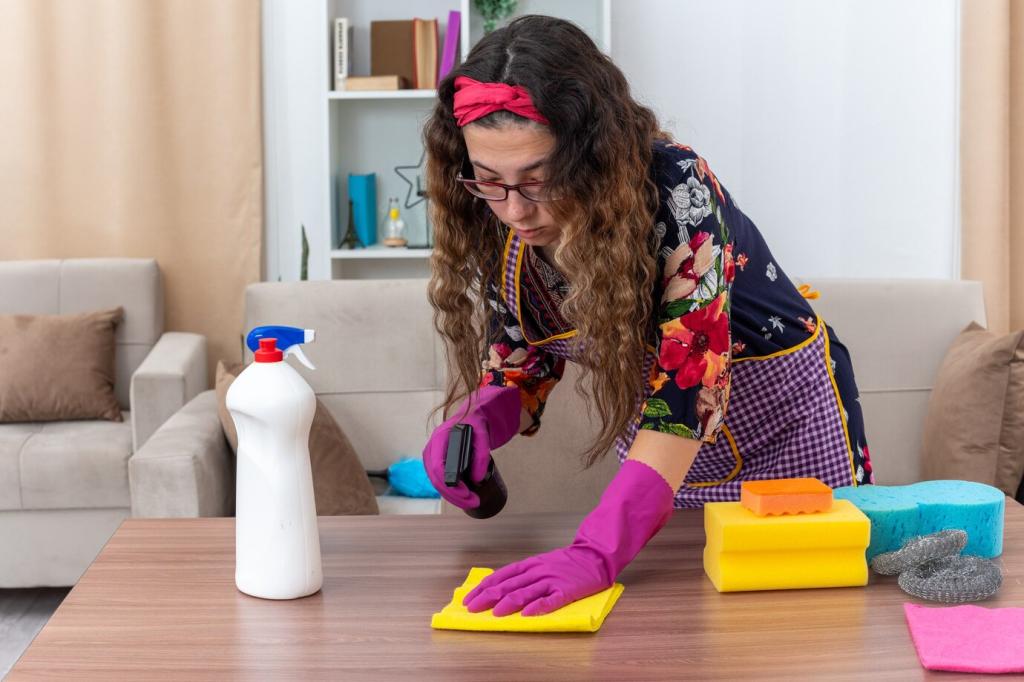
Gentle Cleaning between Coats
Dust with a soft cloth, then use a slightly damp microfiber to lift fingerprints. Avoid harsh detergents that cut through wax. If grime builds, apply a small amount of wax as a cleaner-polish. Subscribe to receive our printable care card you can tape inside a drawer for quick reminders.
Warmth, Grain Pop, and Hand Feel
Wax enhances figure and chatoyance, bringing depth to walnut curls and oak rays. The surface feels alive, silky, and organic. Visitors will instinctively run a hand along the edge. Share which woods in your home responded most dramatically after their first careful waxing session.
Repairability and Patina over Time
Unlike brittle film finishes, wax is forgiving. Scuffs blend with a quick rub and micro-recoat, preserving character. Over months, a subtle patina emerges, telling the story of everyday use. Post a before-and-after of your family desk and inspire others to revive heirlooms instead of replacing them.
Lower VOC Options and Indoor Comfort
Many modern waxes emphasize lower VOC carriers and gentle scents, keeping workshops and apartments more comfortable. Always check labels and ventilate. If air quality matters in your space, consider citrus-based blends. Comment with brands you trust and we’ll compile a community-tested shortlist.
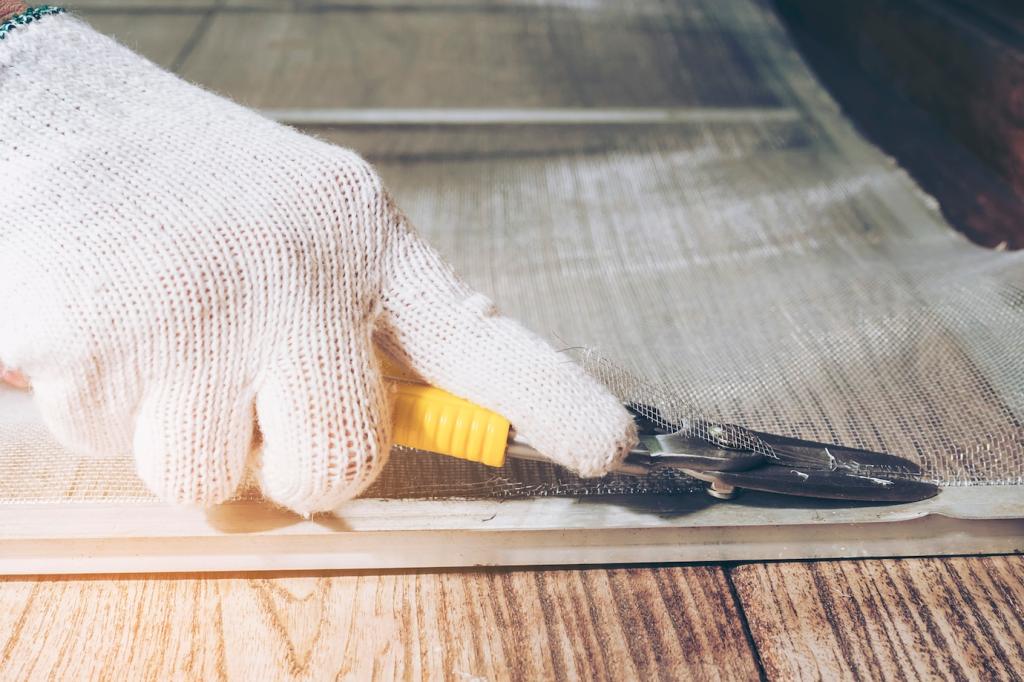
Common Mistakes and How to Avoid Them
Overapplication and Residue Smearing
Too much wax leaves greasy streaks that never fully cure. If this happens, thin with a small amount of solvent and rebuff. Next time, load the cloth sparingly. Tell us your cleanup tactics, and we’ll share the community’s favorite fixes for stubborn, cloudy residue.
Waxing over Uncured Finishes
Wax traps solvents from fresh stain or varnish, causing gummy spots. Always let underlying coats cure fully according to manufacturer times. When in doubt, wait longer and test discreetly. Post your timeline questions and we’ll help interpret labels and ambient conditions for a safe schedule.
Skipping the Test Spot
Different woods and old finishes react unpredictably. A hidden test spot reveals color changes, adhesion issues, or streaking before they spread. Make it routine: test, wait, buff, decide. Share your test results and settings so others can learn from your experiments and avoid unpleasant surprises.