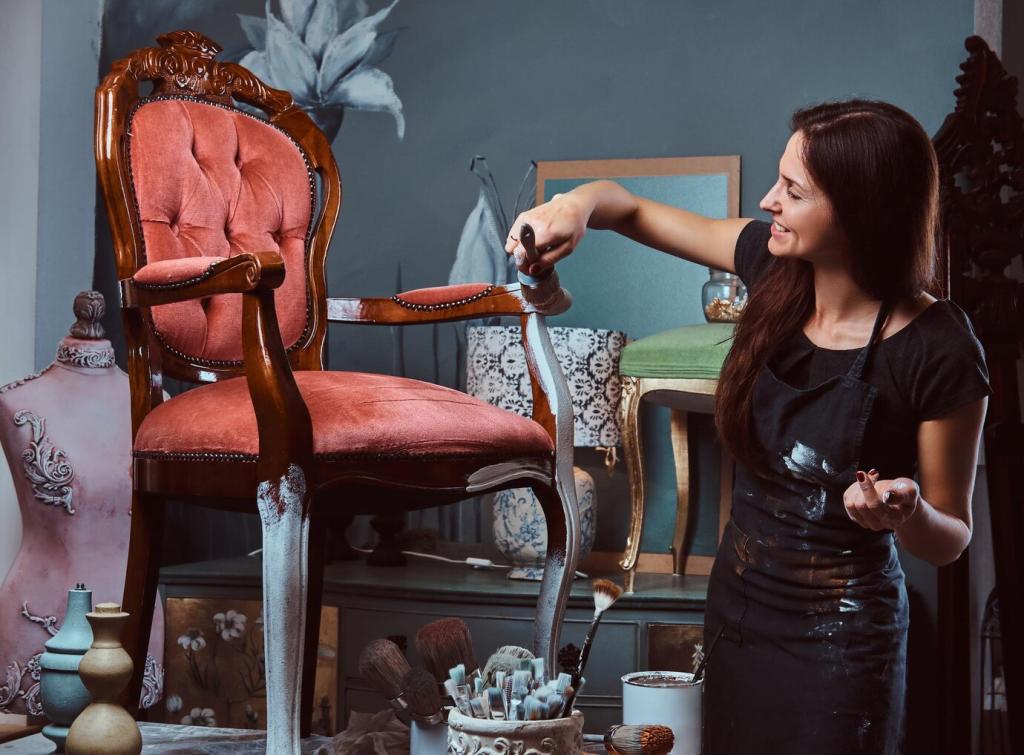
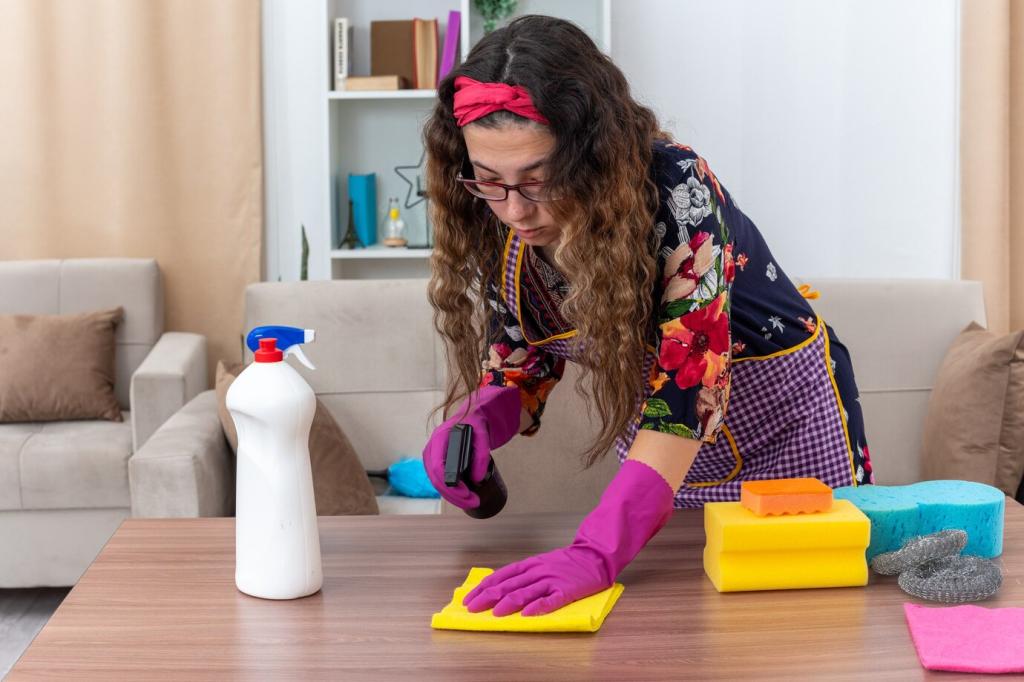
Today’s chosen theme: Step-by-Step Process for Waxing Wooden Furniture. Join us as we turn a simple maintenance task into an easy, rewarding ritual that preserves history, reveals character, and leaves every surface glowing. Subscribe and share your wax wins and questions!
Set the Stage: Preparing Wood for Wax
Identify whether you’re refreshing an existing wax film or bare finish. Wipe with a soft cloth dampened slightly with mineral spirits to lift oils and grime. A careful inspection now prevents trapped dirt from dulling your eventual sheen and clarity.
Paste wax offers precision and a satiny depth, ideal for small sections and heirlooms. Liquid wax spreads faster on large surfaces but can be trickier to keep thin. Match the format to your patience level, project size, and desired character.
Pick Your Wax Wisely
Beeswax lends warmth and a forgiving workability. Carnauba brings hardness and higher sheen. Blends balance both. For frequently used tabletops, a carnauba-rich blend resists wear better. For vintage pieces, beeswax adds that mellow, tactile glow reminiscent of old ateliers.
Cloths, brushes, and steel wool 0000
Use lint-free cotton cloths for application and buffing. A soft-bristle brush or shoe-brush style horsehair helps reach carvings. Keep 0000 steel wool for gentle leveling. Label each cloth’s job to avoid cross-contamination and accidental smearing between steps.
Aim for moderate temperatures and low humidity. Cold rooms slow haze formation; hot rooms accelerate drying unevenly. Steady conditions make waxing predictable. If weather is fickle, work in smaller zones and schedule extra curing time before buffing to brilliance.
Scoop a pea-sized amount for each square foot. A little goes far. Starting small prevents heavy spots and saves buffing energy later. Think whisper-thin: transparency now becomes clarity later when the shine blooms under gentle polishing.
Motion: circles then with the grain
Massage wax in small circles to reach pores, then finish with long, light strokes following the grain. This builds an even film while respecting the wood’s natural lines. It’s a soothing cadence—almost meditative—rewarding patience with impeccable coverage and glow.
Edge details, carvings, and corners
Use a soft brush or cloth-wrapped fingertip to navigate moldings and carvings. Avoid buildup in creases. In our studio, a tiny makeup brush once rescued a Victorian chair rosette—share your micro-tool hacks for intricate details that deserve attention.
Buffing: From Haze to Glow
Wait for the right haze
After a few minutes, the surface dulls uniformly. Touch lightly; it should feel dry, not greasy. If it smears, wait longer. Weather matters. A consistent haze signals the wax is set and primed for an effortless, streak-free polish.
Buffing tools and gentle pressure
Use a clean cotton cloth, folded into a pad, or a horsehair brush for intricate areas. Light, brisk strokes build shine gradually. Think warm friction, not force. Rotate to a fresh cloth side often to avoid re-depositing residue.
Building Coats and Letting Them Cure
01
After the first buff, add a second whisper-thin coat. The aim is enhancement, not thickness. Applying too much creates drag and streaks. Two or three light coats usually outperform one heavy pass in depth, clarity, and long-term wear.
02
Let the piece rest overnight after your final buff. Touch a hidden spot; if fingerprints appear, it needs more time. That patient pause lets solvents flash off and wax harden, yielding a finish that feels confident under everyday use.
03
High humidity slows curing and can soften early coats. Plan waxing sessions when indoor conditions are consistent. If seasons shift quickly, extend intervals, keep airflow steady, and document timing in a notebook to refine your personal waxing calendar.
Streaks usually mean too much wax. Lightly level with 0000 steel wool along the grain, then reapply an ultra-thin coat. Buff with a clean cloth. Working smaller zones helps maintain consistency and prevents that gummy, uneven appearance.
Moisture trapped beneath wax can cloud the surface. Gently warm with a hairdryer on low, moving constantly, then rebuff. If needed, lift lightly with mineral spirits and re-wax. Coasters and felt pads help prevent recurring moisture marks.
Silicone residues repel wax, creating craters. Clean thoroughly with a silicone remover or naphtha, then test again. Avoid polishes that leave silicone behind. Share brand experiences so others can sidestep hidden contaminants before they sabotage a beautiful finish.
Dust weekly with a soft, dry cloth. Avoid water-based sprays that can lift wax or leave streaks. If deeper cleaning is needed, use a barely damp cloth, then buff dry. Gentle habits preserve the tactile, hand-rubbed character you created.